Thursday, October 12, 2006

very sharp tile installation!

Here are some pictures of the tile installation I wrote about last time .
They were put in in a very cool and creative way.


.
This section by the loo looks like a fabric scarf, sliding down the wall!

another tile project

Here is yet another tile project.
I find that in my work there is a curious propensity for kinds of work to go in phases.
Sometimes its several floorcloths in a row.
Or lots of fabric.
At the moment it's tiles.
And ceramics.
Since finishing this project last week, I am now working on a quantity of mugs and other table ware for the Christmas present season.
But more on that next time.
....................................................
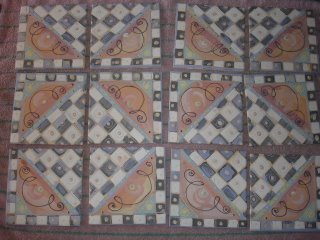
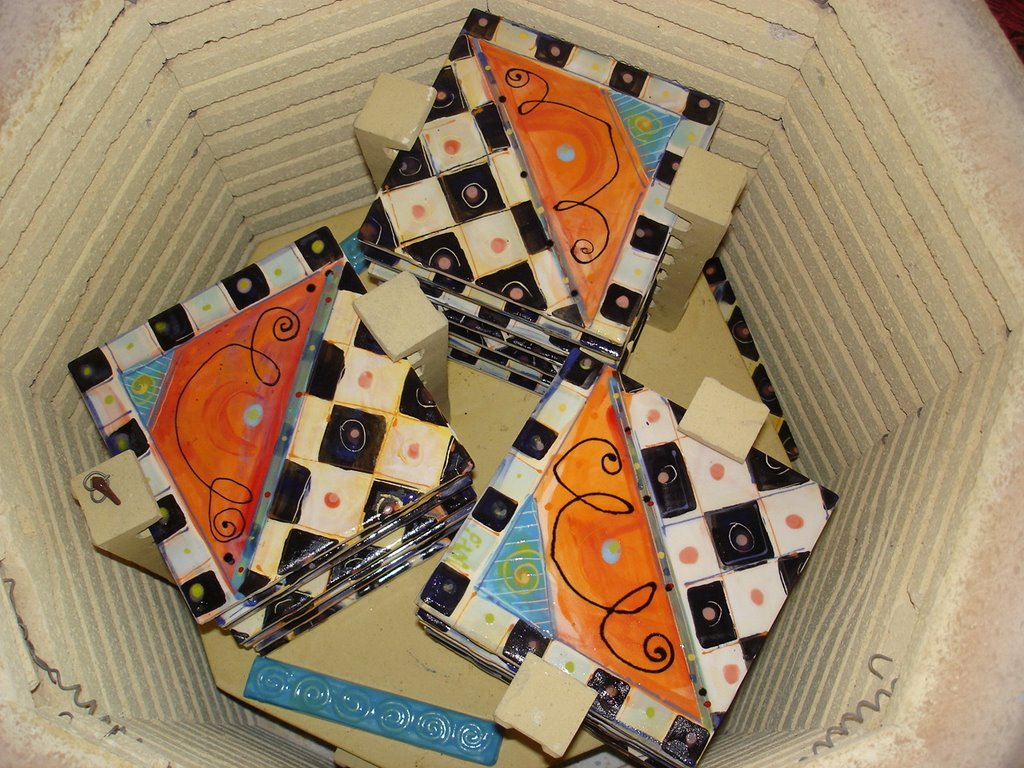
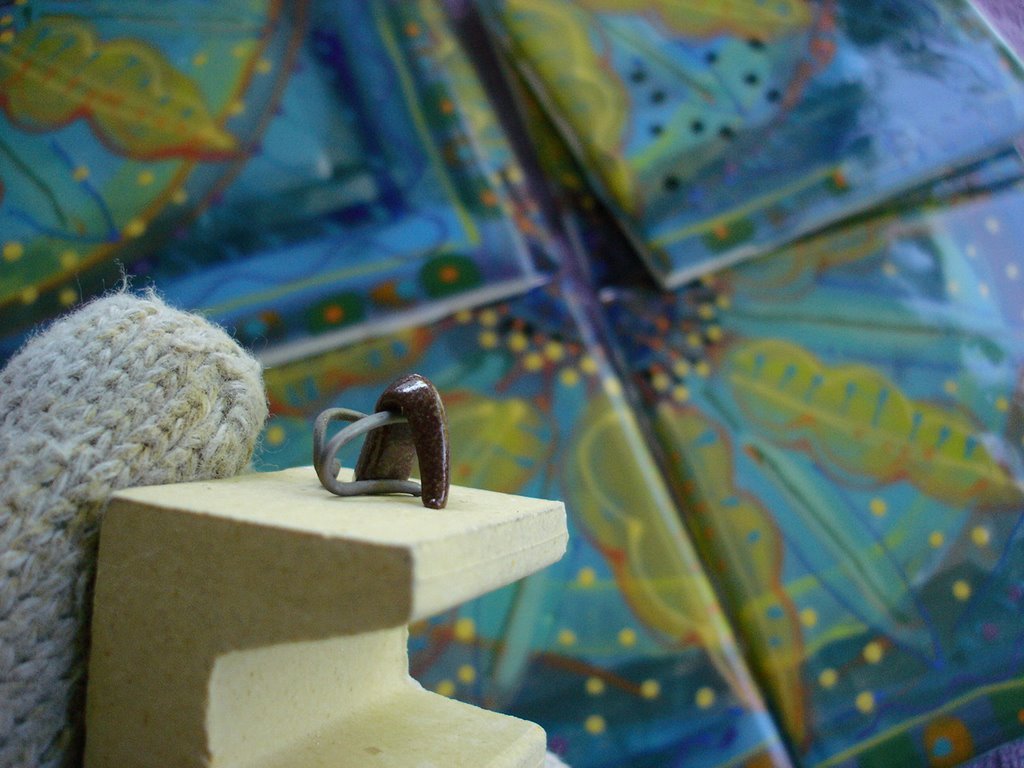
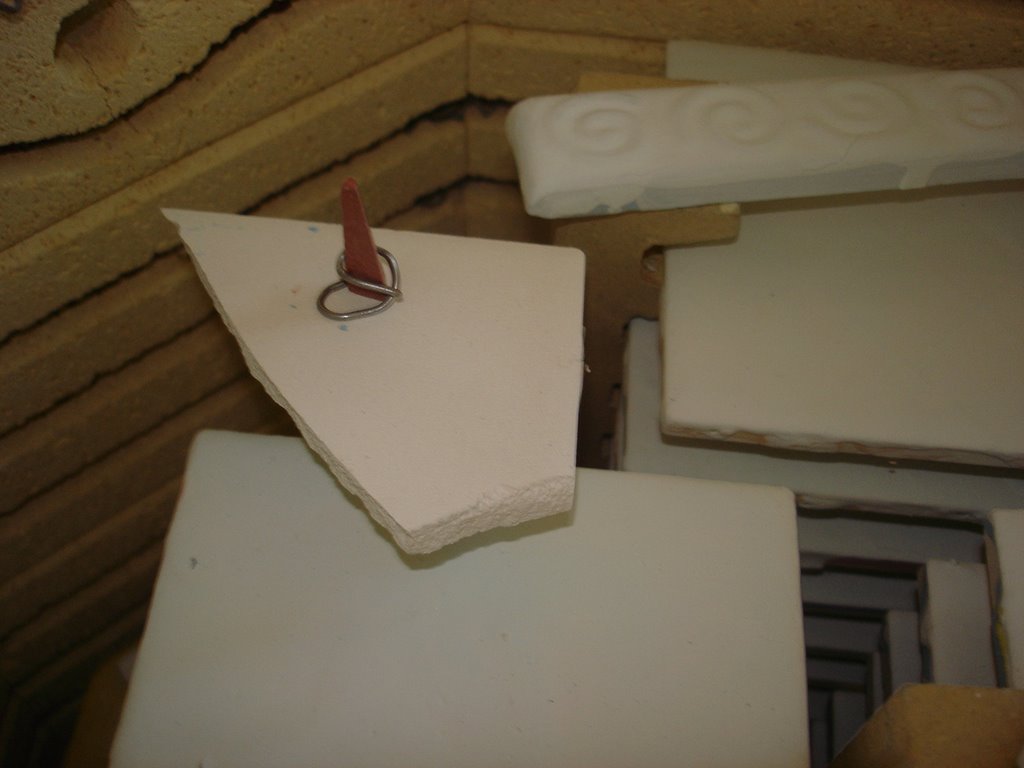
Here are the tiles ready for glazing.


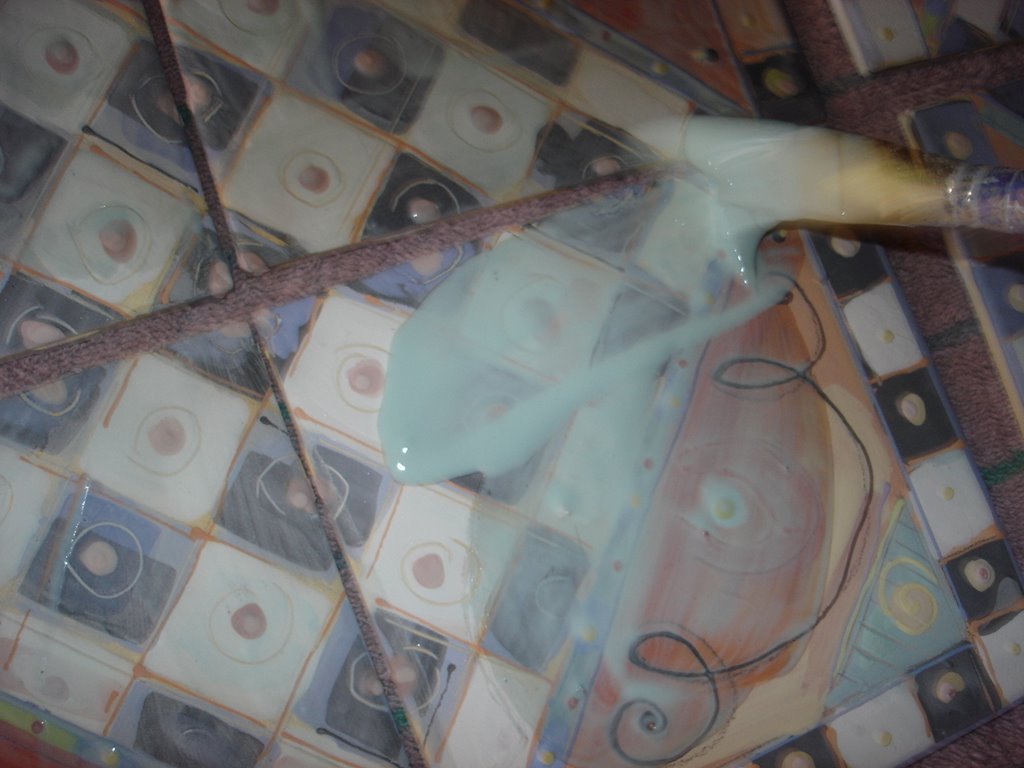
Here is the glazing process - the first coat.
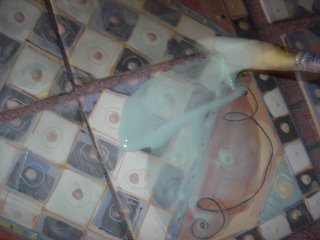
.
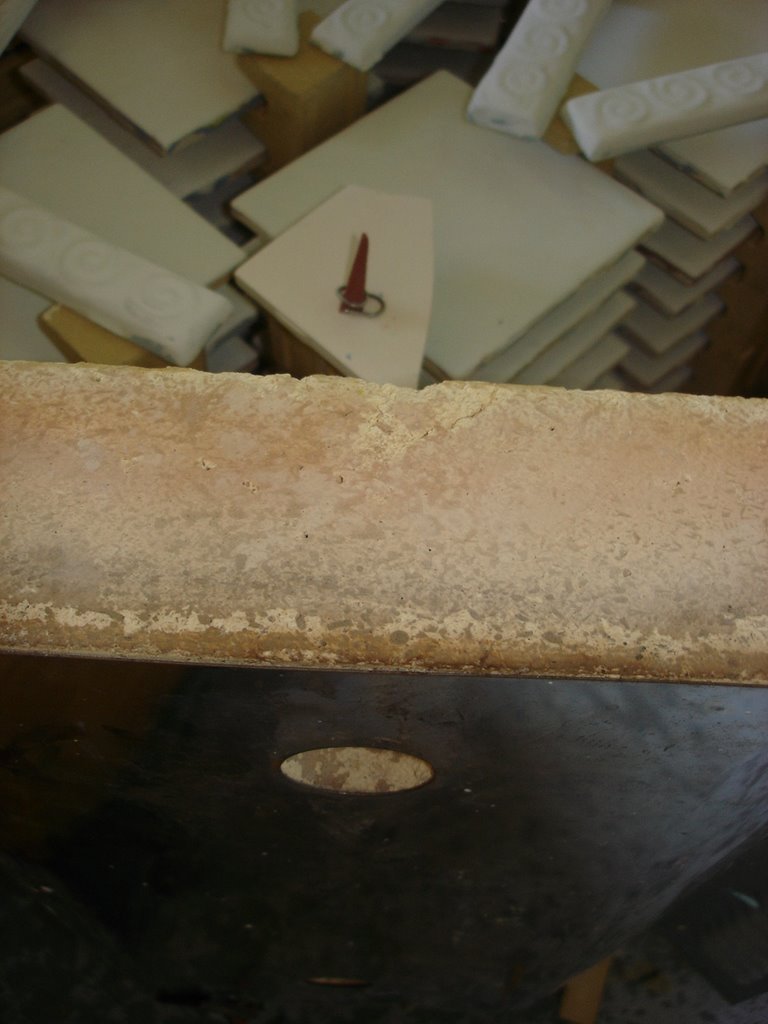
And the last coat, 3 or 4 coats later.
The design colours should not be visible through the glaze, although the raised parts will show through, dimensionally

.
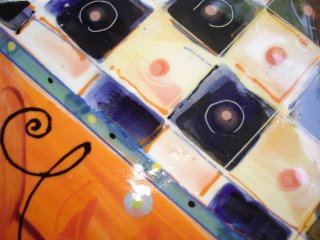
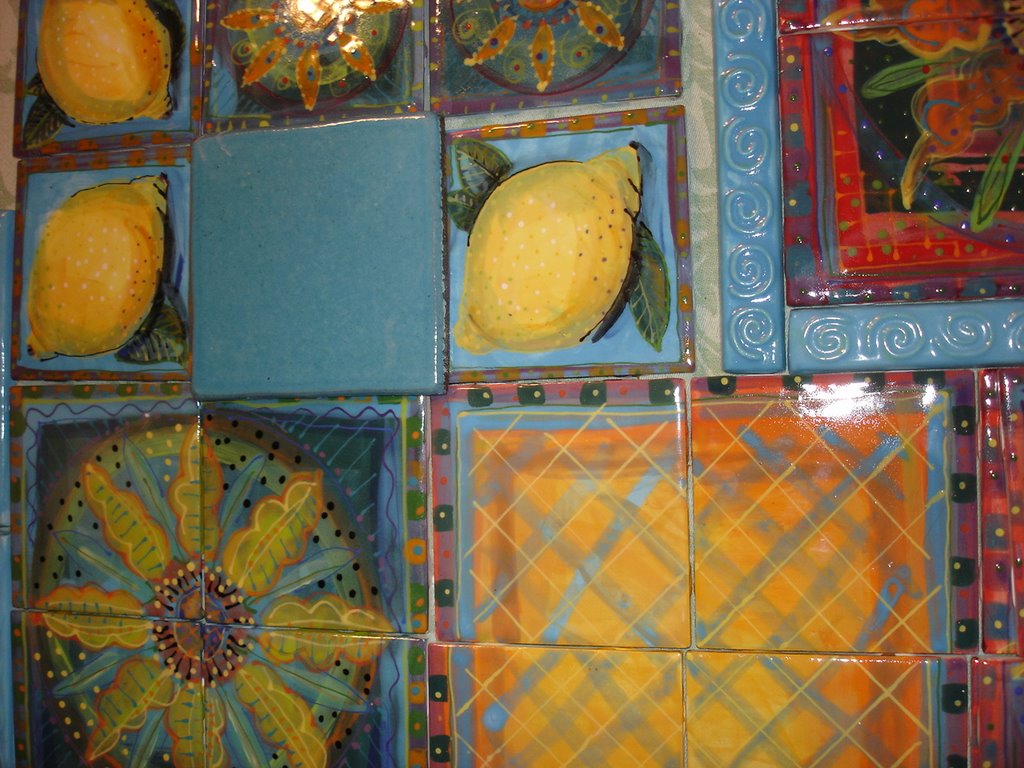
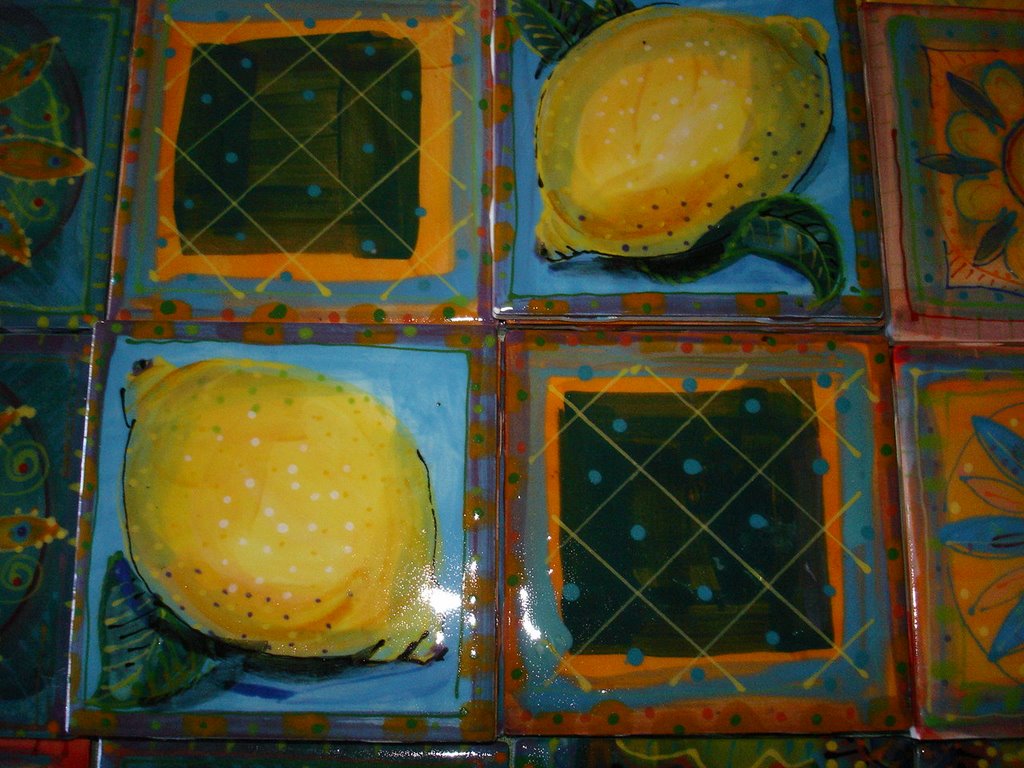
Another very successful firing!


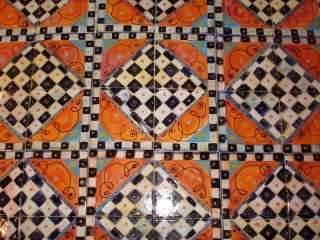
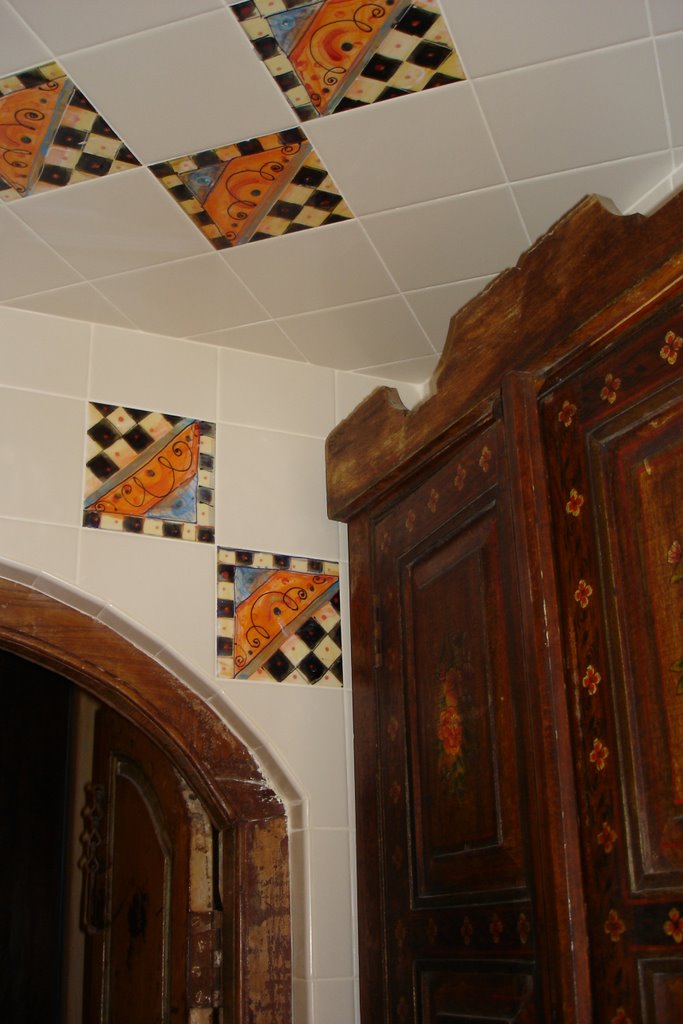
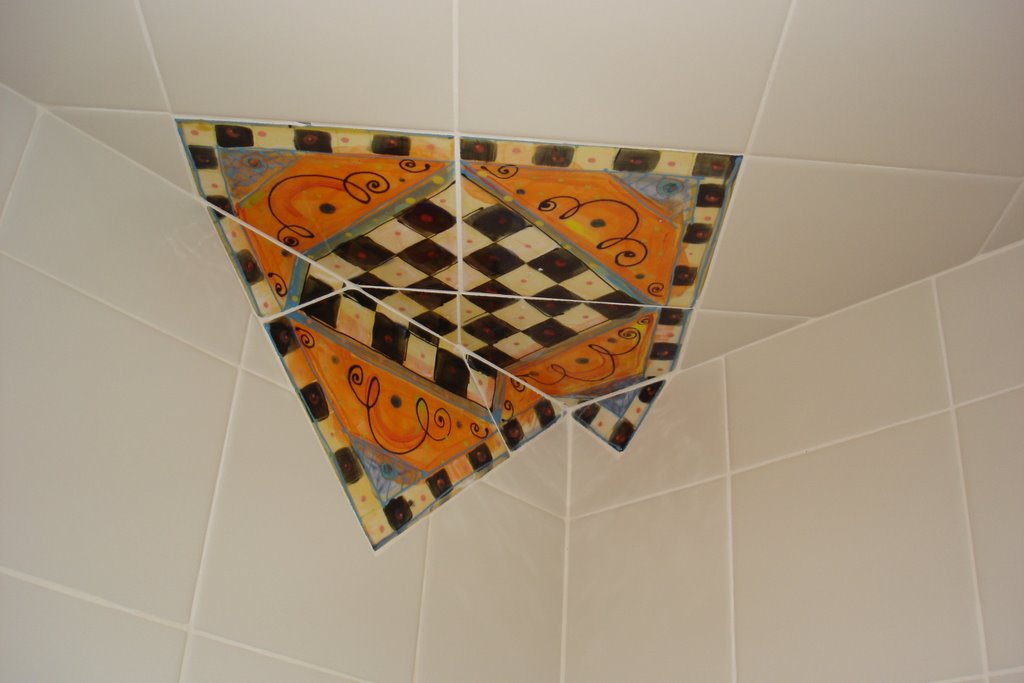
These tiles will probably not be installed all together, but more likely spotted around in a wall of plain field tiles.
They are for a client who had similar tiles installed into a home that has subsequently been sold. They were so sad to leave the tiles behind, they have comissioned me to make another batch to install in their next home!
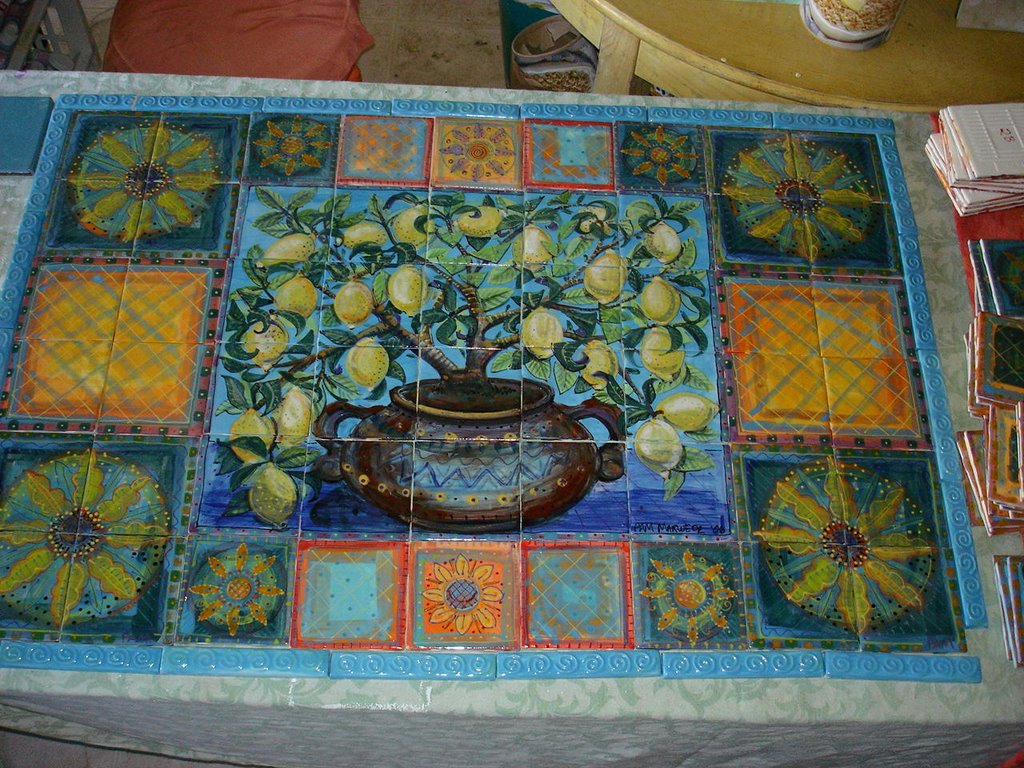
.
Its always fun to see what wierd things you can do with the pattern!

Thursday, October 05, 2006

All the tiles together at last.

Its a very exciting moment, when, after cooling over night, the kiln is finally opened. The suspense is over, and I see that all the work has fired well throughout the kiln.


Here is the wall mural portion of the project laid out as it will be installed.
In the top left hand corner you can see the solid blue field tile that the rest of the wall will be tiled in.


Wednesday, October 04, 2006

Time out for quick kiln repair!

Here is a picture of the heating coils being reunited!


After exactly 6 hours of firing the repaired kiln and its precious cargo, the cone drooped over, and I shut it all off, noting that the glow coming out of the peephole was just that precise F1,940 light. You can just sense it somehow.
This morning I was very happy to see an entirely successful result.

The Frustrations of Firing!

Last Sunday everything was set for a productive firing; the kiln was loaded, the pyrometric cone was in place.

When the kiln reaches the correct temperature, (approx 1.940 degrees F) after about 6 hours , the cone bends over gracefully.


Unfortunately, the kiln never reached the correct temperature.
After waiting an extra 2 hours, I shut off the kiln.

......................................................................................................................................
NEXT DAY:

Obviously something was malfunctioning inside the kiln, and the tiles were underfired.
I emptied the kiln, and although the top layer was underdone, the bottom part had fired perfectly. There were some very pretty tiles indeed!


.
I was also able to see the problem with the kiln.
The top two elements were severed. Oops.
Time to make some repairs!