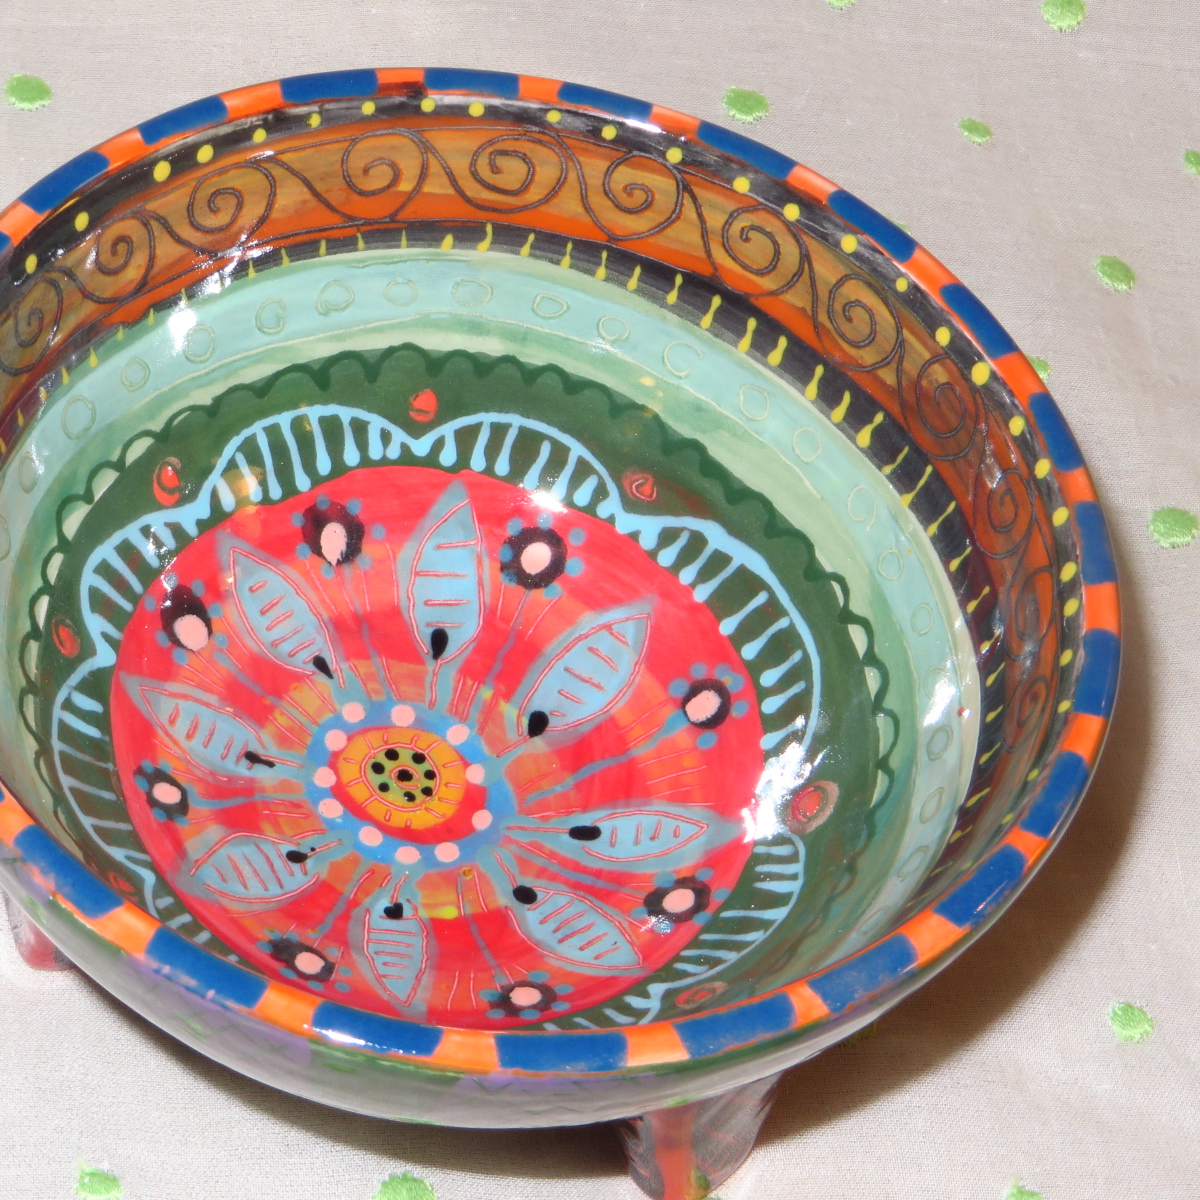
Thursday, October 15, 2009

Big Dinnerware Project!


I have been very busy putting together this set of dishes for 12.So much planning goes into a project like this: simply selecting the dish types with the client is very important and takes tremendous concentration and some application of logic.

This particular client was very helpful and clear on what she wanted, so the process went smoothly, but it still took a lot of focus!


Another exciting aspect to this was project was the debut of a new kiln I am now using. It's really big, much bigger than my old friend the Old Kiln (sic),and it took a bit of formal wiring and engineering to get it powered correctly, and more testing from me to make sure it was all OK, before submitting this important dish project to it. Of course, getting the dishes planned and painted has also taken a certain amount of fore thought and mental organisation....I had to pay a lot of attention to keep track of what I was doing, each step, to keep the consistency in the design for each group.The cat is always particularly helpful at this time. (?)All the pieces are specifically designed to match in sets...Lots of variation between sets, but also clear repetition of the design within the set.


Each dinner plate, side plate and mug has its own particular fruit or vegetable.


The bowls are more generic, so they can work with sweet or savoury foods.


The bowls also sit prettily on the plates, for a nice table setting.

The backs of the plates reflect the vine theme on the bowls.


I think these oval "luncheon" plates are very cool.

Still yet to paint are two very large serving platters, one with fruit and one with veggies. And two large serving bowls, one with fruits, one with veggies!
Stay tuned.

Friday, September 11, 2009

Table Delivered!

Here is the table in its home...and looking GREAT with the red chairs!

Tuesday, September 08, 2009

Table Finished

A couple of days ago I finished this great table...
I am very happy with the way it's turned out, and the birds just crack me up....!
You can click on some of these pictures to see them larger!


The Roseatte Spoonbill and the flowering ginger plant are the last two elements to complete the circle, or Rougue's Gallery.


It's quite hard to photograph because of the reflections in the semi gloss finish.


Tuesday, September 01, 2009

Painted Table Moves Along Nicely

This is the hard stage in a project, there is a lot to do yet, and I get conflicted about whether to work on the foliage and flowers, or to work on the pattern....I go back and forth, slowly developing the feel of the thing. As more paint develops the feeling of depth the painting starts to take on a life of its own. This is the fun part.

Lots more to do, but now that, for instance, the water area in the centre is resolved, I can have fun giving it a little more mystery and sense of atmosphere...compare this to the picture of it in the beginning of this post.


The flowers are blocked in with colour, also bringing more razzle dazzle to the scene...


Painted Table

Next Project is a small dining table. Here is the sketch on paper... Birds, water, tropical, stylised....all good fun.
I taped under the edges, and the centre area, especially. I don't want thick areas of paint gluing it together, or preventing me from getting the table closed later!
It was important to get the birds in the right places, and for them to be the right size, so I decided right away where to put them...maybe a little too soon...


I painted them out, to do more background work; go figure....however, since I still wanted to make sure they were positioned correctly, and that there was enough room for the clumps of flowers to come later, I then went ahead and painted in the birds just about the way I want them, but didn't finish them. They will get all messed up anyhow, as I do the leaves and flowers around and behind them. However, they'll be easy to fix andperfect later, last thing.

With this project, there are lots of layers. I have to decide what gets painted first. If I dont take the time to think ahead, I will end up repainting a lot of areas, as they get stepped on by the adjoining bits that should have been painted first....

Fabric Washed

After heat setting the fabric in the very hot dryer for half an hour or so, its time to wash it. Washing is not that crucial. I sometimes feel the fabric seems softer, but I think its more imagination. However in this case, since I used a lot of chalk to draw with, the washing will certainly get rid of any chalk residue in the fabric.It was very heavy all wet! And when the fabric is wet, it becomes delicate. The paint can soften after a while when wet, and its VERY IMPORTANT not to scrape, twist or otherwise disturb the paint on the surface of the fabric when its wet. When its dry its almost indestructible, and holds up to pretty rough use. Crazy. It was a cloudy stormy looking day. I was eager to get the fabric finished off and delivered the next day, the day before it had rained a lot....argh. What to do?? Nothing dries when its rainy in the summer here....and this piece was too big to try to dry indoors...I watched the weather radar on the computer for a couple of hours, and there was no rain anywhere...
I was a nervous wreck when the fabric was almost dry, and it still looked like the sky would rain a downpour....
I laid it on the picnic table when it was just damp,and the sun came out for a while and really toasted it nicely!
A minute later, I looked out the window and it was raining! With the sun out! Argh! I rushed out and got the fabric inside , before any of the rain had a chance to stick.


Hopefully I will be able to post some pictures in the future of this piece made up into the lightweight quilt that's planned for it.


Wednesday, August 19, 2009

More On The Fabric Bedcover

Here is a good view of what's been done, and whats left to do! The piece is oriented sideways on the table. The unpainted area corresponds to the "top" of the cover, ie: at the headboard. The seam is in the centre of the table now, from side to side. Not that it matters particularly...Here is the chalk drawing for this next section.
And here you can see that section more or less completed...

Its really an incredible amount of detail, even for me. I don't think I have ever concentrated so much tiny detail on such a large piece. It think its beautiful.

To unify the whole, and to give it an ''inky'' look, I am painting a transparent "glaze"- like wash over the whole area outside the centre , in a sort of indigo/purple colour. It cools off the flowers and leaves, making them look moist and shady, like the forest floor...I will do some more of that today; it often dries lighter, and allows me to create even more layering, by it needing more than it looks like when its wet In other words, the stages are slow. It's hard to overdo it in one glaze. That's a good thing, for me!


I will be sort of sad when this is done. Its been hard work, mentally, since there had to be a lot of consistency in the flowers and scale. I had to pay quite a bit of attention, and that's fine, but it's demanding, and physically tiring, having to huddle over a small space for a long time!!...But the main point is I am so happy with the way it looks, I will miss that satisfying feeling when a whole section comes together, and looks really good... but I suppose I feel like that all the time when something is getting done and looks good. ...
Soon I will be thinking this about the next project. Still a few things to do on this one though... stay tuned.

Thursday, August 06, 2009

Painted Fabric Bed Quilt Project Continues...

It was important to maintain the impact of the central floral which will pretty much fill up the centre of the top of the bed...the sides will be the Mille Fleurs areas.
I have more or less completed the right hand middle part, and to keep the momentum going, I am going to slide the fabric up and begin the whole bottom section. Later I will go back and complete the left hand middle bit, and probably do some more little tiny details on the right hand side. Then I will draw and paint the top section last. Just worked out that way, no reason.


As before, I block in the dark areas, and then begin blocking in larger areas of colour, gradually adding more and more detail on top.


Lots of work! LOTS of detail. But once the theme, colours and repeating elements are established (the analytical part!), its a very meditative satisfying process...its going well, and its fun.

Exciting New Fabric Project

I have been planning this large fabric bed cover project with a client for months now. Finally its time on the work calender has arrived.The project is for a hand painted one-off piece with a central, radiating design, to cover a Queen sized bed, with a 2 foot drop on 3 sides. The fabric will subsequently be machine quilted with a star pattern, and lined to fashion a lightweight bedspread for a large, beautiful four posted bed. The starting points for the design is a rug from the same room, and floral designs from embroidered silk shawls from southern Spain. A LOT of planning has gone into this, since its so large, (approx. 8'x9') and needs to end up a very specific size.
Usually I staple my fabric down before painting, shrinkage does occur, and I like to work on a tight, flat, non- moving surface. But I can't do that here.

With extra allowance for whatever shrinkage will occur (usually 1-2 inches, depending which way the weave is), I boldly set out putting a lot of colour on the fabric, every which way I can. I want there to be a lot going on in the background of the design: a lot of depth. Since I don't know exactly where the dense floral areas will be, nor where the more open areas will be between flowers, I have to cover the whole thing with this mottled effect that will look like distant foliage and blurry leaves once the rest of the work is painted in. There isn't going to be the usual "designy" motifs I often put in the background of my fabric yardage (swirls, big dots, geometric grid designs of squares and diamonds, etc).


Its such a big piece, but I know from experience that finding the centre, and doing a lot of measuring and thinking at this stage pays off later, and it will probably all turn out OK. The border makes the measuring and planing final. In fact, I did this border twice, in chalk, since I decided to make the whole design bigger, and then we decided to add a third row of checks. The edge row of checks will be turned under after , and on top of the quilting process, to finish the whole thing on the underside.
Drawing with chalk is crucial, I simply wipe out mistakes with a wet sponge. Normally when I paint fabric yardage projects I either don't draw at all, except for marking out pillow squares, or I do a very vague block out of some feature (bird or something)..and just start painting. In this case, however, the design is very formal, and the dimensions,pattern and size of various elements is very important. So I am planning on drawing just about everything in the chalk first. I wipe it out as I go, and any little bits left over, come out in the wash.(!)

After a very intense chalk session, lots of measuring and wiping out, and thinking hard, I feel confident to draw out the outline in a dark paint. This dark outline becomes the shadow under the plants later.

Although I have followed the pattern fro the rug pretty faithfully, I am certainly going to make it my own, and also , since its not a wool tufted thing, but a painted thing, I can introduce a whole lot more interesting detail. Making the transition from the centre floral to the field of flowers goes through a couple of versions, and we finally smooth out the kinks in the design, and work out the details for the rest of the piece. We are looking for a an over-all sense of pattern, but not a slavish symmetrical mirror pattern from one side to the other. It also will develop an early Renaissance Mille Fleurs tapestry look.

Friday, July 17, 2009

Three Fish plates


Last in the line of the latest batch of pottery are these really good fish plates.

I love their faces....


I broke this one.
Just, oops, it slid to the floor, and blammo. A million pieces.
It was entirely my own fault. I balanced it for a moment in a precarious (stupid) spot...it fell , seemingly in slow motion, while I stood helplessly watching. Some quick reflex type person probably could have caught it, but I am not that person. I have other talents, suppose.... Time to take a "break" (hahahaha!) from ceramics.
I think I will work on fabric for a while.....check back soon!

Ceramic Fish Bowls

This was a very fun project, a lot of detail, too, but I am very pleased with the results...


These are going to be used for soup.


Blue is particularly hard to work with, in pottery painting. All the blues look infuriatingly the same, before firing. And they all look light and grey. So its very hard to visualize what the end result will be. You take it on trust. And keep painting.


And the blues here turned out just as planned. I wanted deep bright blues inside, and that's what I got, with good definition in the orchids and leaves. I also managed to get a sense of a lot of depth and a watery quality in the painting; I am very pleased .


Painted Chair backs

This was a quick project to paint a simple design on the silk backs of these rather nice chairs. This kind of work requires a lot of focus and concentration, since I cannot make a single mistake.
No drips, no re-dos, no practice.


And they turned out just fine!